Yum安装的nginx中配置webdav服务
系统版本:CentOS 7.9.2009
Nginx版本:1.20.1
服务器上已经yum安装了nginx,版本是1.20.1,需要让它变成一个webdav服务器,进行以下操作:
安装依赖包
1
yum install yum-utils pcre-devel zlib-devel libxslt-devel libxml2-devel -y
1
2
3
4
5
6
wget -c http://nginx.org/download/nginx-1.20.1.tar.gz
git clone https://github.com/arut/nginx-dav-ext-module
cd nginx-1.20.1
./configure --with-compat --with-http_dav_module --add-dynamic-module=../nginx-dav-ext-module/
make modules
cp objs/ngx_http_dav_ext_module.so /usr/share/nginx/modules/
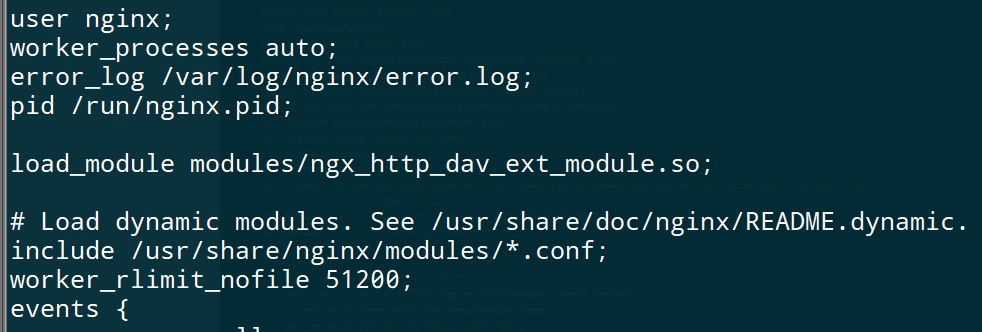
编辑 nginx.conf,在最上面增加 load_module modules/ngx_http_dav_ext_module.so;
在 /etc/nginx/conf.d/ 目录下 增加一个 dav.conf
内容如下:
1
2
3
4
5
6
7
8
9
10
11
12
13
14
15
16
17
18
19
20
21
22
23
24
25
26
27
28
29
30
31
32
33
34
35
36
37
38
39
40
41
42
43
44
server {
    listen 80;
    listen [::]:80;
    server_name dav.laomm.com;

    location / {
        # 301 Only work for GET/HEAD/OPTIONS, So we use 307 to temporary for POST go through.
        if ($request_method = POST) {
            return 307 https://$host$request_uri;
        }
        return 301 https://$host$request_uri;
        }
}

server {
    listen 443 ssl http2;
    listen [::]:443 ssl http2;
    server_name dav.laomm.com;
    root /data/webdav/;
    index index.html index.htm;
    access_log /var/log/nginx/webdav/access.log;
    error_log /var/log/nginx/webdav/error.log warn;
    ssl_certificate /root/.acme.sh/laomm.com/laomm.com.cer;
    ssl_certificate_key /root/.acme.sh/laomm.com/laomm.com.key;
    ssl_session_cache shared:SSL:10m;
    ssl_session_timeout 10m;
    ssl_protocols TLSv1 TLSv1.1 TLSv1.2;
    ssl_ciphers EECDH+CHACHA20:EECDH+AES128:RSA+AES128:EECDH+AES256:RSA+AES256:EECDH+3DES:RSA+3DES:!MD5;
    ssl_prefer_server_ciphers on;
    add_header Strict-Transport-Security "max-age=31536000";
    add_header X-Content-Type-Options nosniff;

    location / {
        auth_basic "Restricted site.";
        auth_basic_user_file /etc/nginx/webdav-users.passwd;
        client_body_temp_path /data/webdav/temp;
        dav_methods PUT DELETE MKCOL COPY MOVE;
        dav_ext_methods PROPFIND OPTIONS;
        create_full_put_path on;
        dav_access user:rw group:rw all:rw;
        autoindex on;
    }
}
/etc/nginx/webdav-users.passwd 增加用户名密码,需要安装
1
yum -y install httpd-tools
然后执行
1
htpasswd -c /etc/nginx/webdav-users.passwd testedav
输入两次密码之后,自动生成密码文件。
1
2
nginx -t
nginx -s reload
访问浏览器进行验证。
本文由作者按照
CC BY 4.0
进行授权